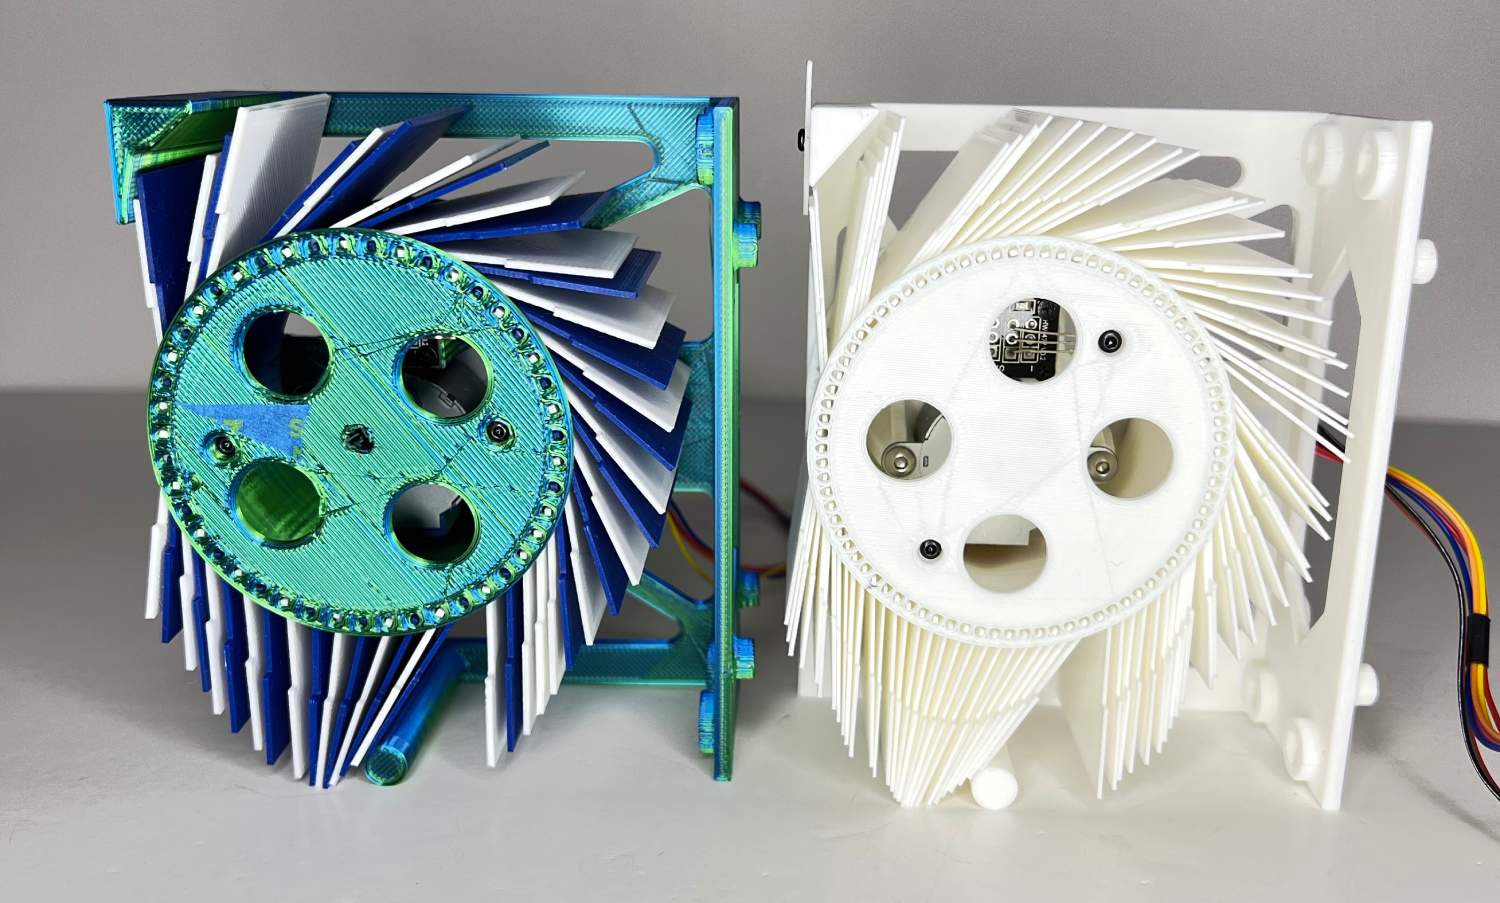
First I printed the parts as designed. This is a 45 flap display.
Increasing the Flap Count
Tarot card decks consist of 78 cards so we began tweaking the design to accomodate additional flaps.
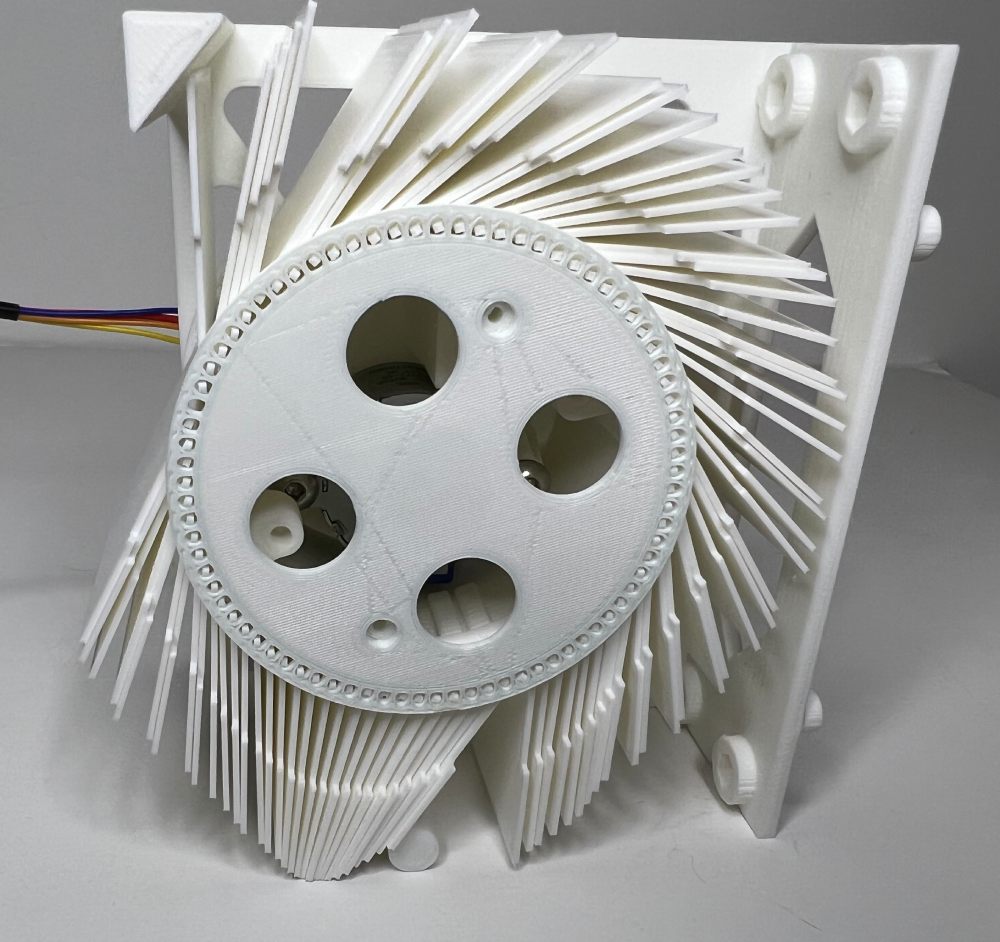
This is the end result, but it took some work to get to this point.
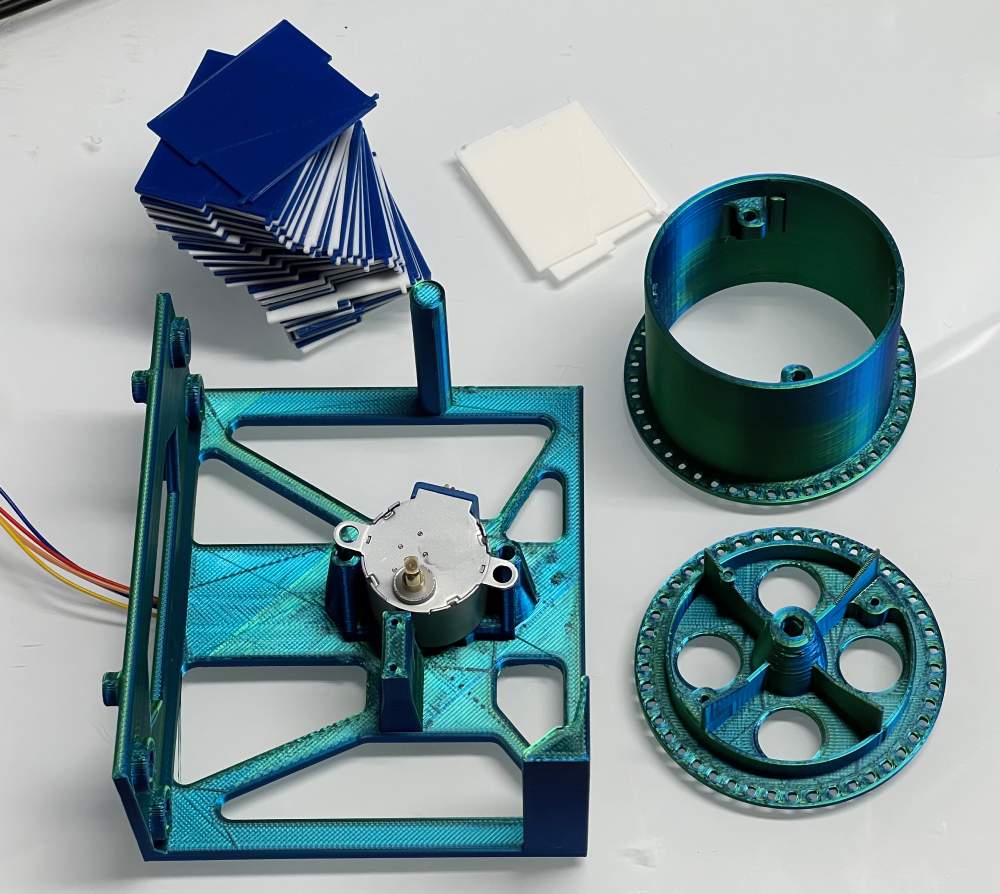
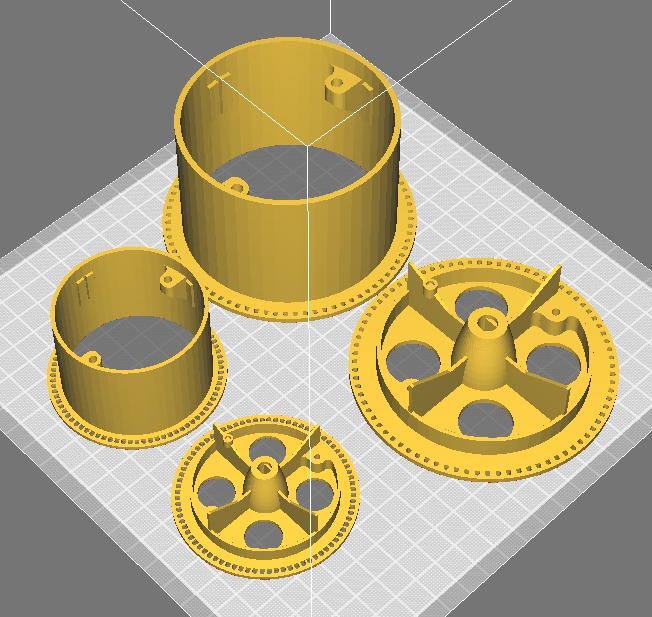
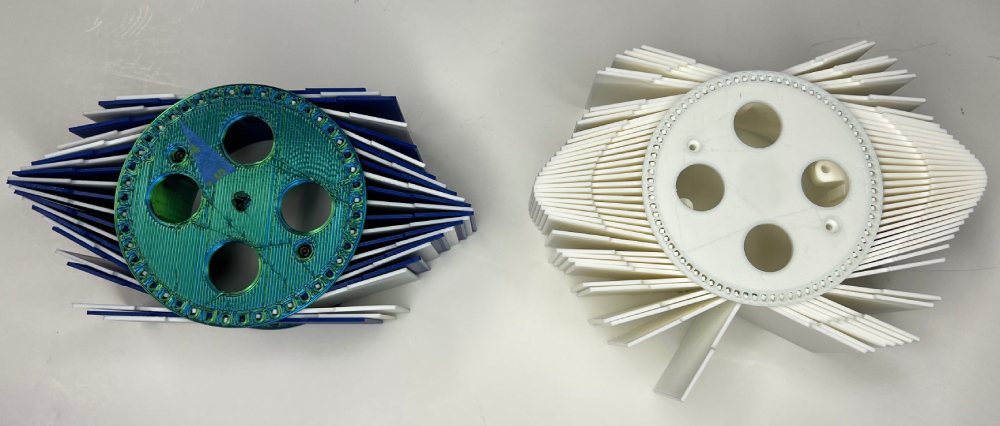
Increase Diameter or Increase Density?
We have 2 options, we can increase the density of the flaps on the existing drum or increase the diameter of the drum and maintain the flap spacing. I opted to increase density.
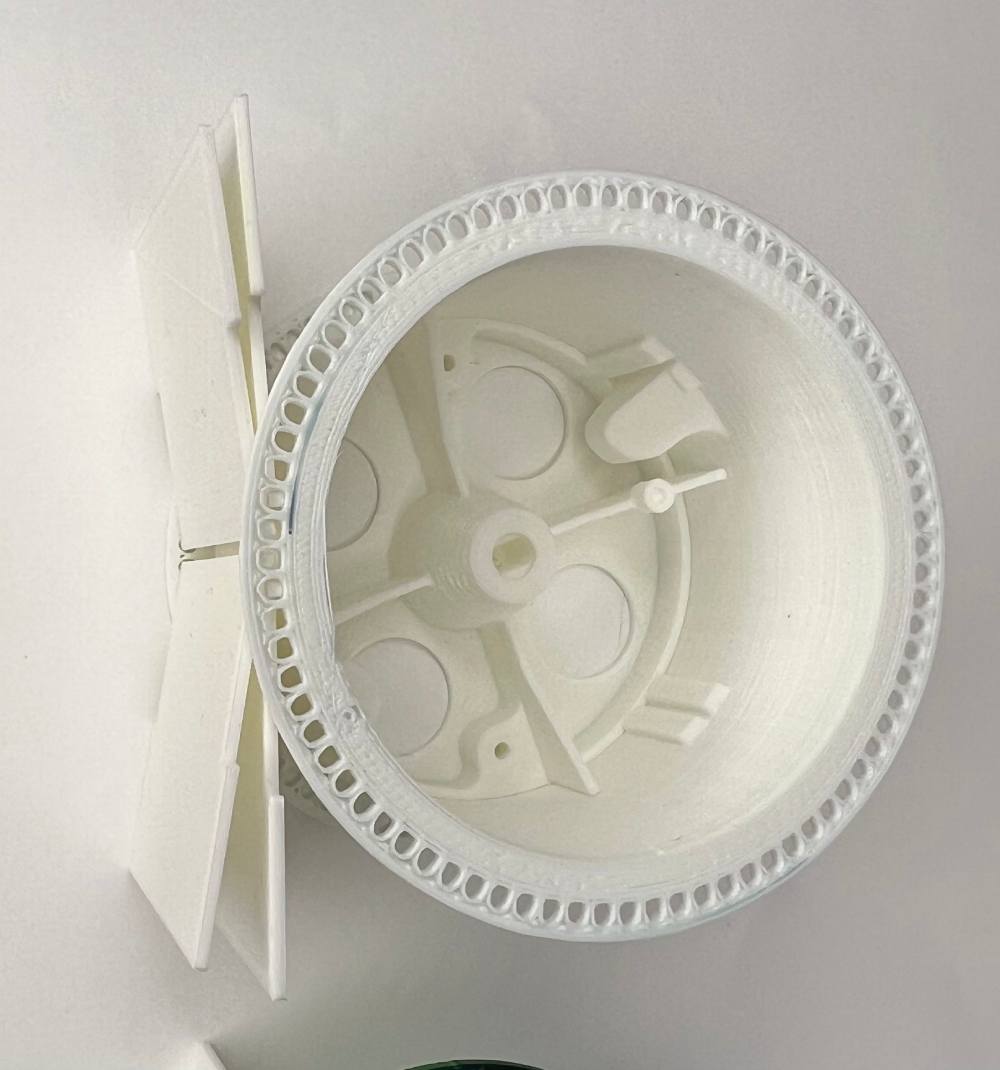
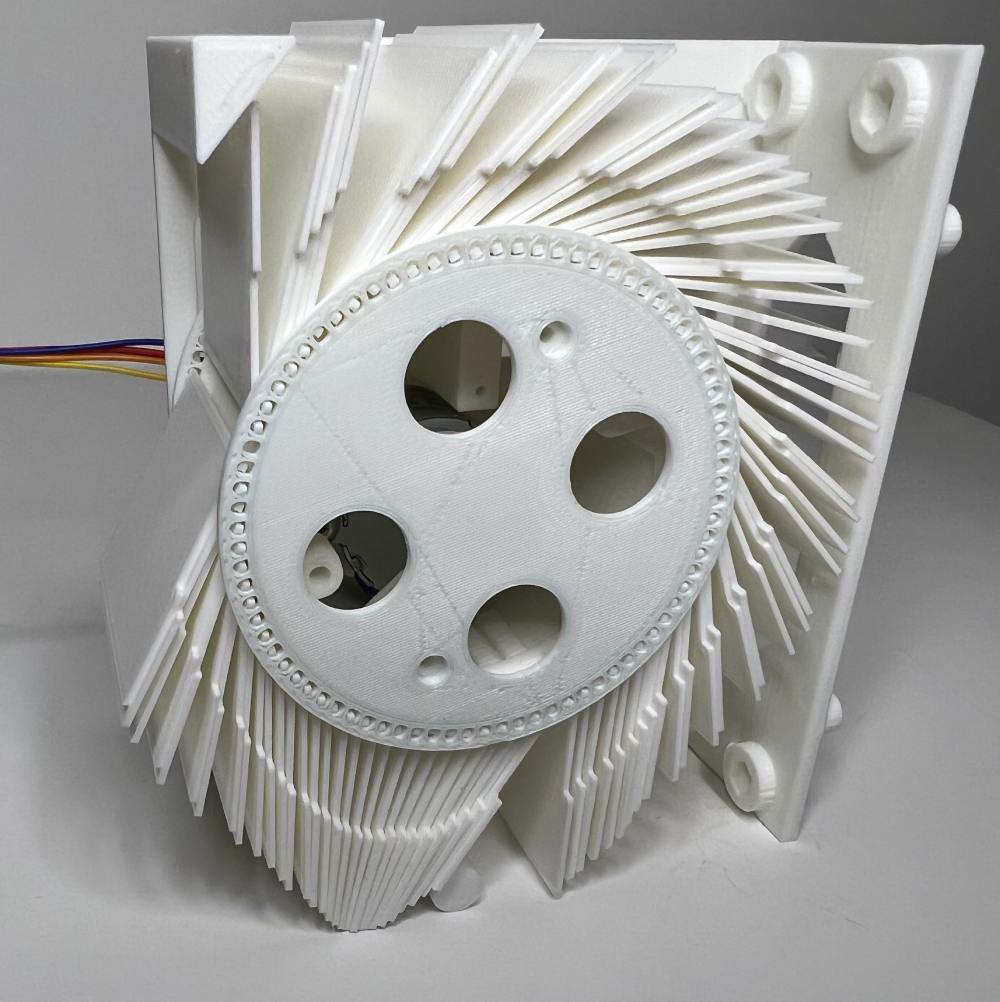
First I increased the number of holes on the drum. When installing the flaps this side profile is where to look when optimizing. The front face needs to be as flat as possible. Here we still have a significant angle.
Pushing on the front face of this - these flaps will not fold any flatter.
Here you can see that the flaps bind against eachother. This will not work at all.
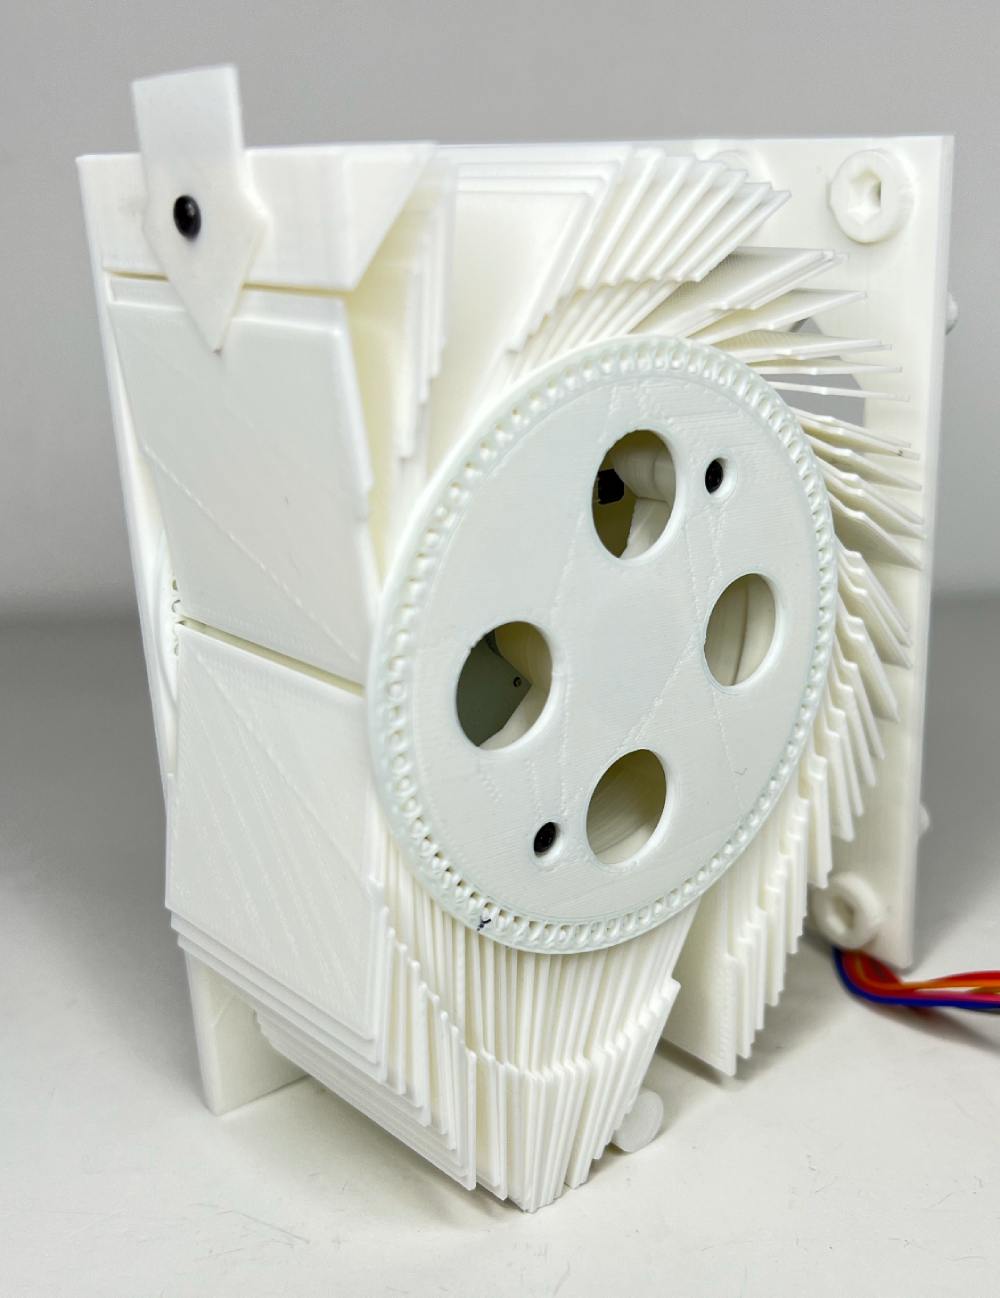
First the flap pivot point was moved to the bottom. This increased clearance significantlky
This distance will be reduced as much as possible.
This looked like a great success!
However when all the flaps are installed, the problem comes back in a different way. Now the flaps hit eachother too much preventing them from dropping nicely.
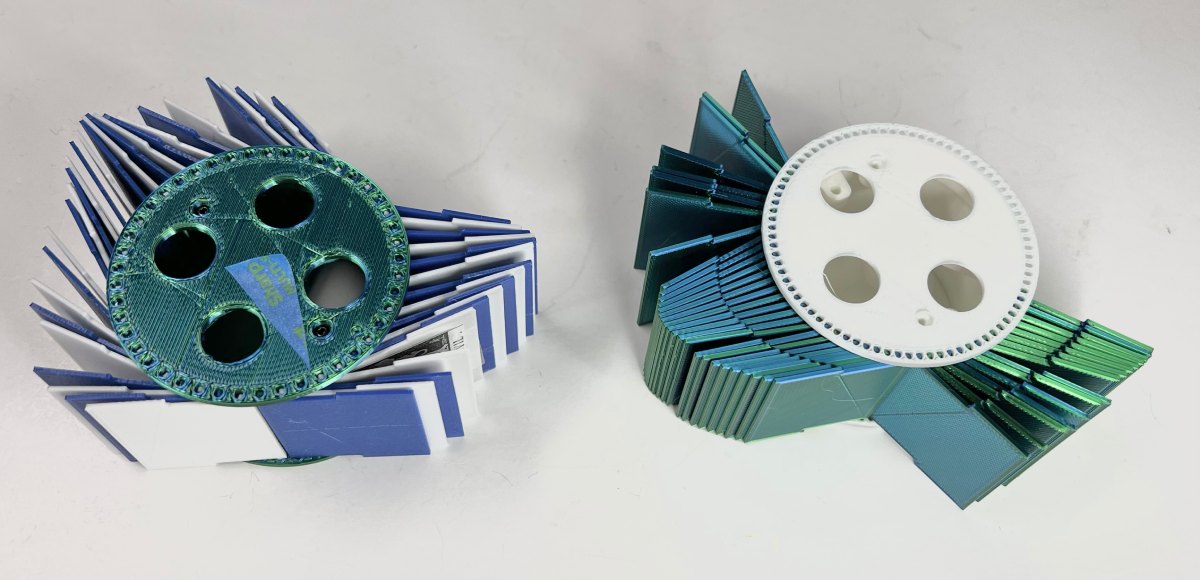
Thinner Flaps
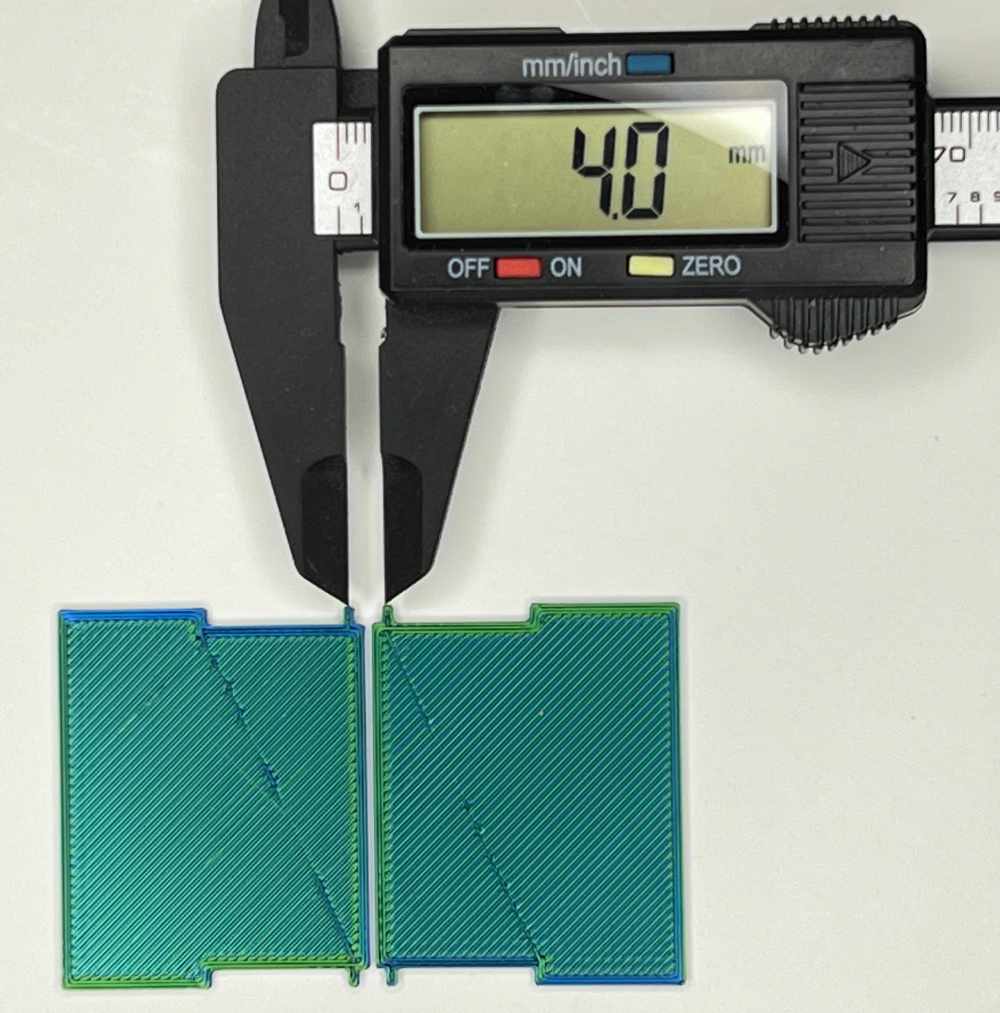
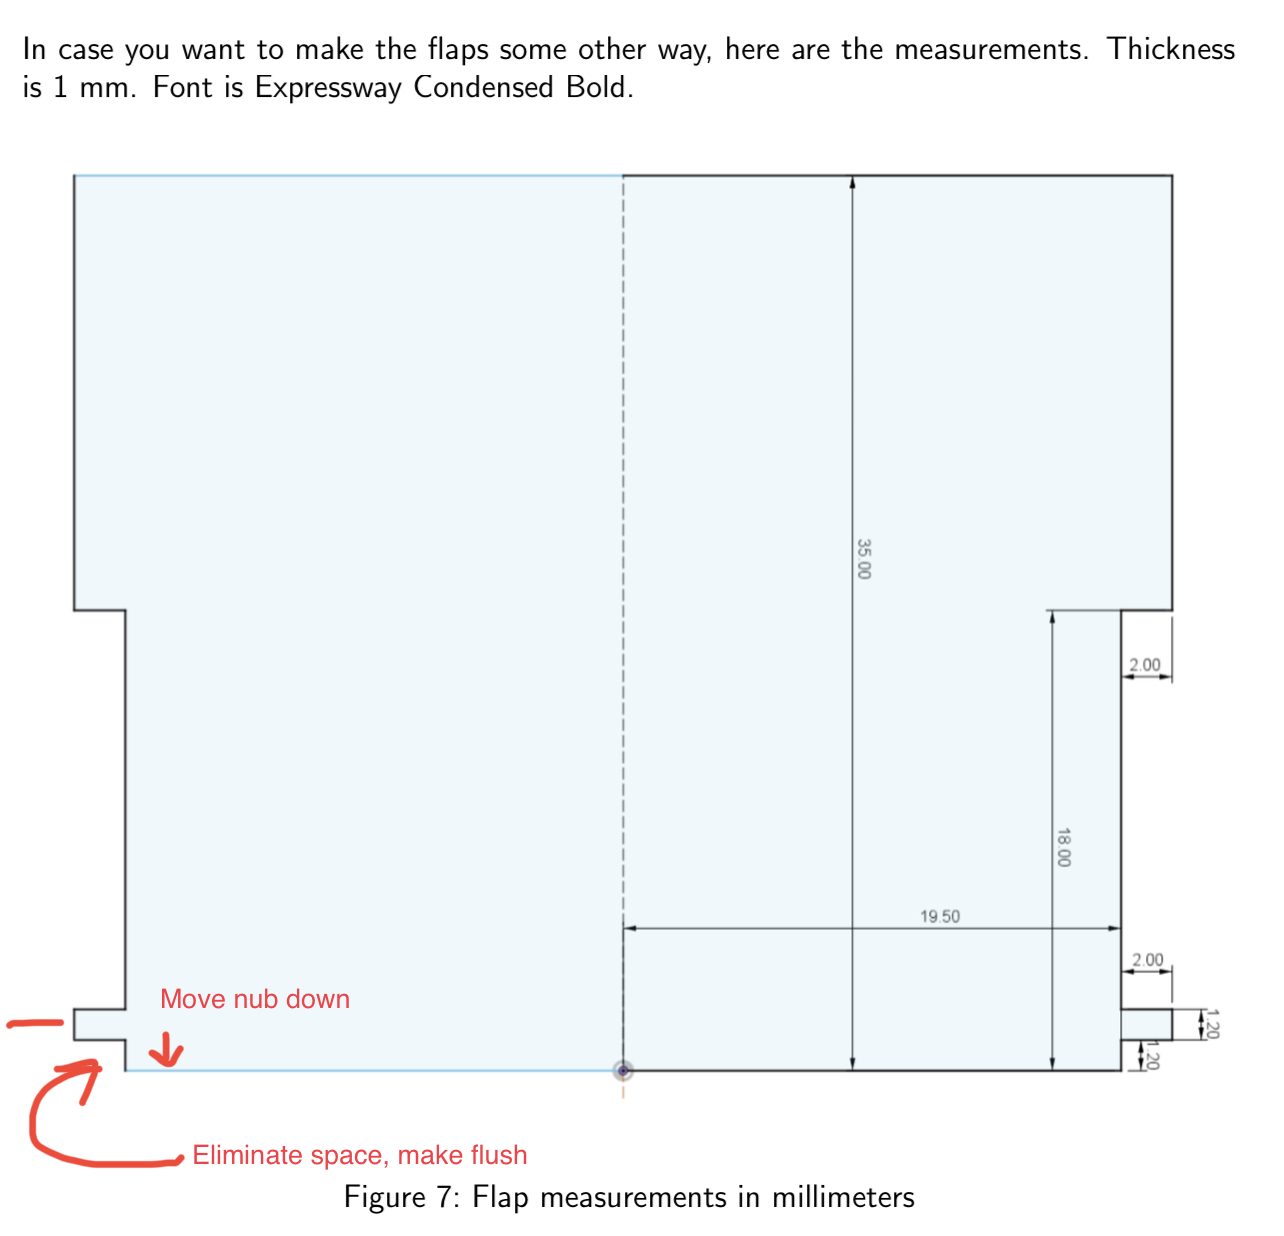
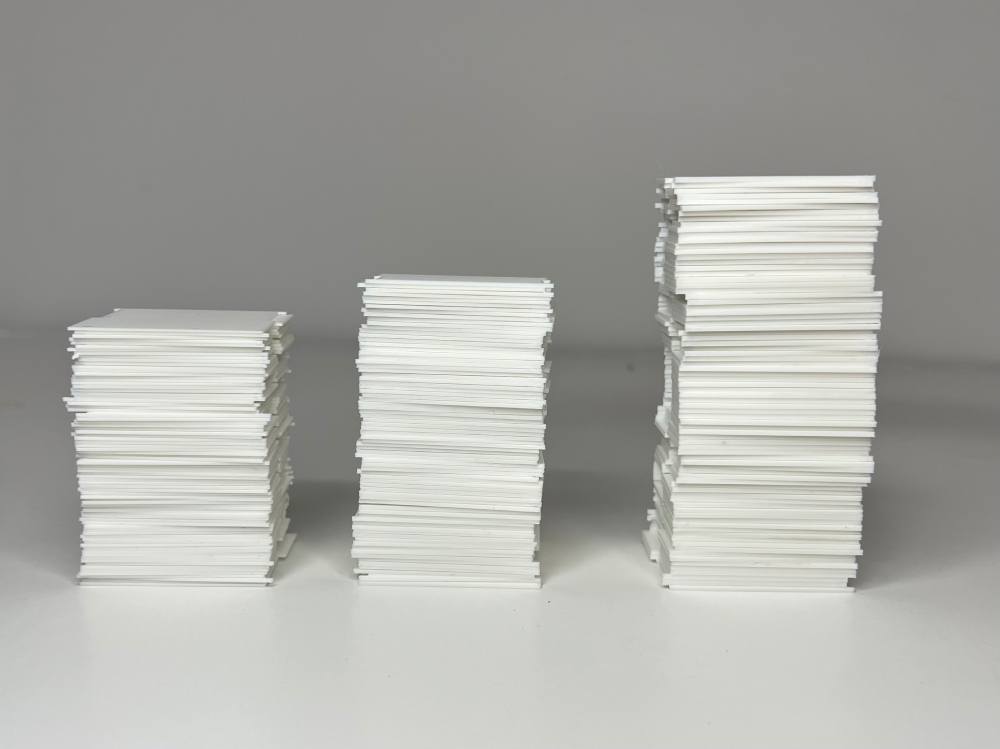
The wonderful split flap community on discord pointed out thinner flaps may be a good solution. The stock thickness is 1mm.
Here you can see the difference between 0.5, 0.7, and 1mm.
The thinner flaps flow nicely and dont bind
The 0.7mm flaps showed improvement, but the front face angle was not yet great.
Tweaking the flap retainer
With the thinner flaps now we turn our attention to the top bar which I'm calling the flap retainer. This is the piece that holds back the flaps as the wheel turns an should allow one flap to fall at a time.
Here you can see the top bar is causing the flaps to bind. The top bar has already been modified slightly to be a triangle, but it needs to be cut back further.
The top flap retainer was made smaller such that it did not hit the flaps at all. An extra flap was cut with a slot drilled to allow adjusting the point that flaps drop precisely
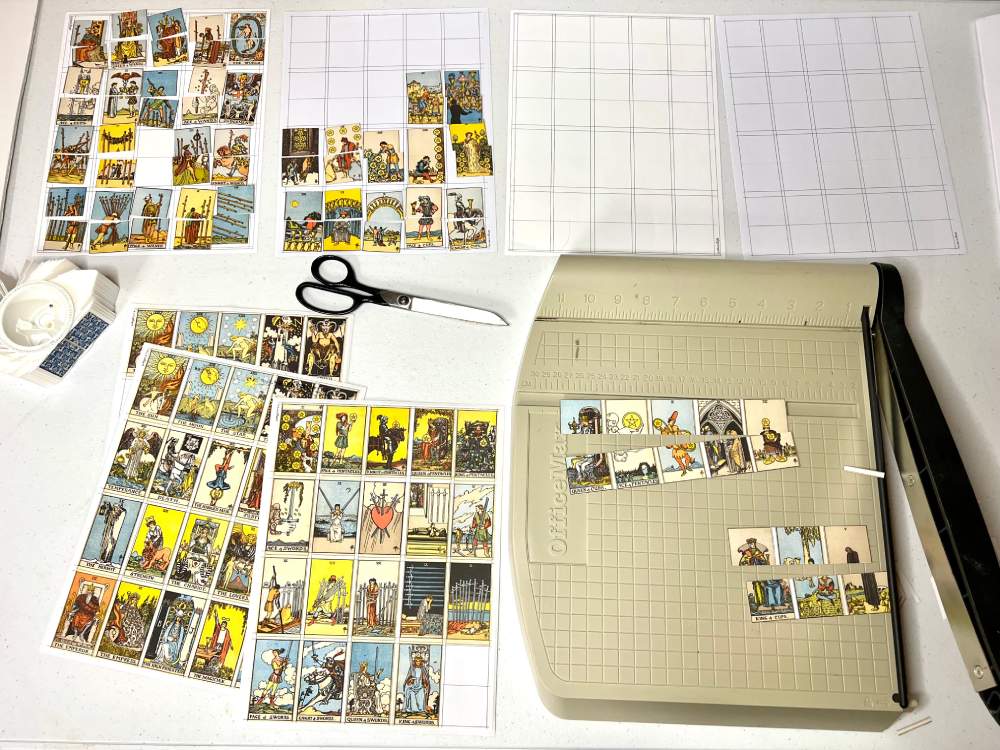
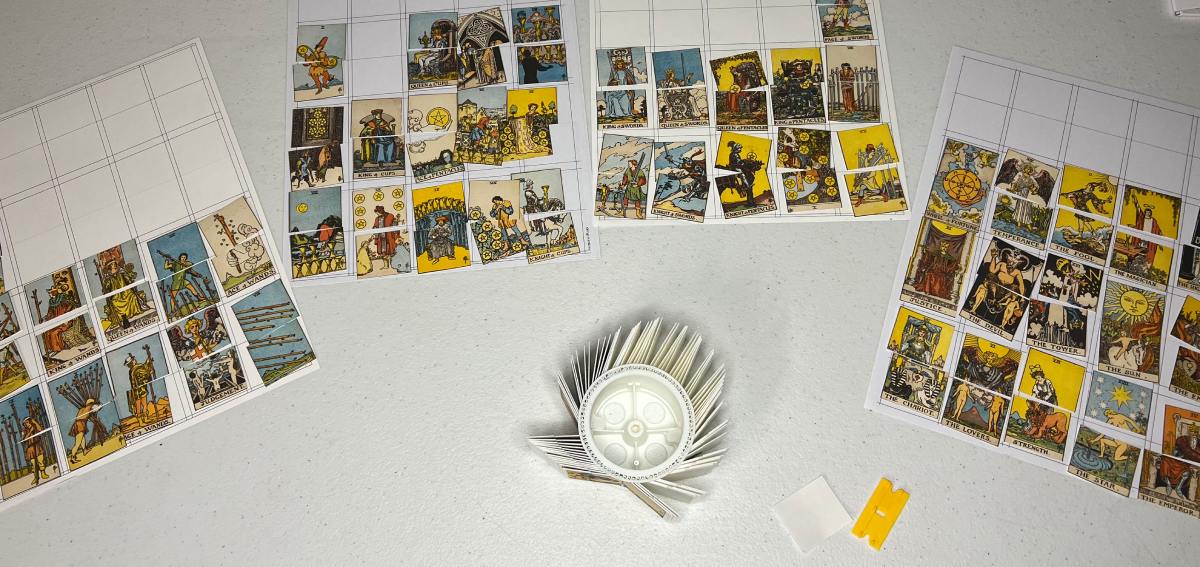
Attaching Tarot Cards
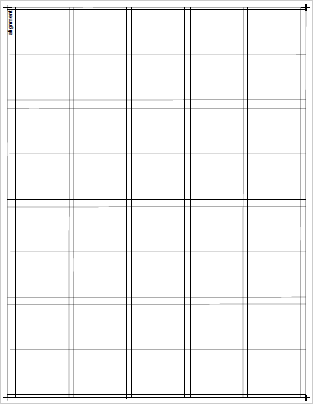
The tarot cards were printed on 8.5x11 shipping label paper. This is essentially a giant sticker sheet.
The hard part was getting sizing and alignment perfect. Through trial and error generating PDF's and scaling the size I ended up with a perfect fit.
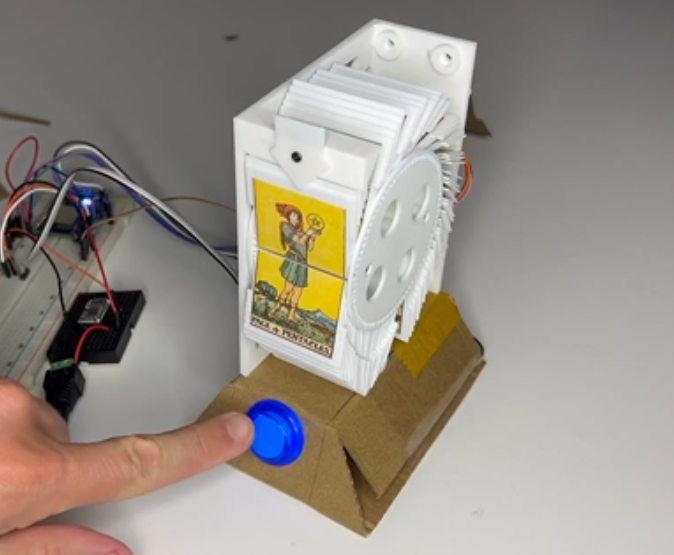
Adding a Button
I landed on a simple 1 button design. Arcade buttons with integrated LED's make for a cool effect when a pulsating LED. The ESP32 natively supports LED dimming.
Press the button once to get a random card. Hold the button for 3 seconds and it will spin to the home position which shows the cards back side.
 tarot split flaps 2.pdf
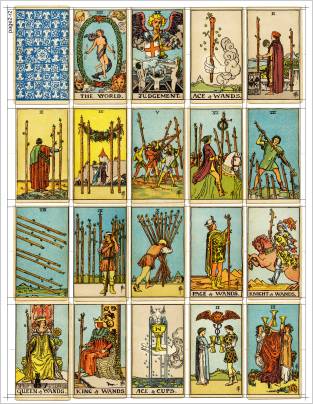 tarot split flaps 3.pdf
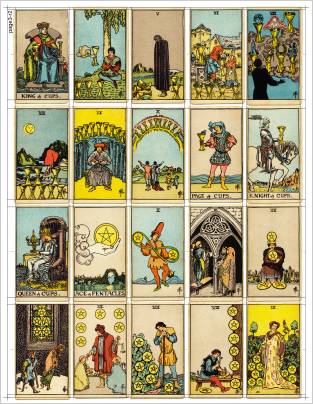 tarot split flaps 4.pdf
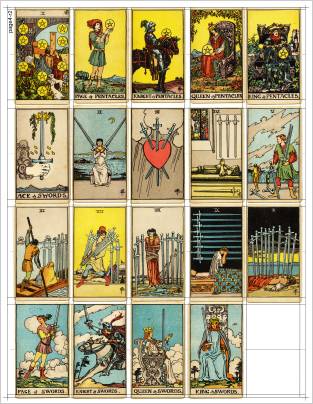 tarot alignment.pdf